
Did you know that you can use HTML in your Mergin Maps project to give users in the field access to information or other documents related to your survey? In this article, we’ll show you a few ways that you can use HTML to improve your survey workflow. You can even use HTML offline to link to other files stored in the project folder. Keep reading to learn more!
Navigate to points with Google Maps
One of the best uses of HTML in your Mergin Maps project is to use it to create a link in the project form that, when clicked, will open the location of the point Google Maps. The user can then choose to use the ‘Navigate’ feature in Google Maps to find directions to the point. This can be useful if users are trying to navigate to different survey points that are far apart, or help them get to the survey site.
To create the Google Maps link in your form:
1. Open the layer properties for the layer containing the points the users are navigating to.
2. Go to the ‘Manage Fields’ tab and click on the Field Calculator button.
3. Select the ‘Create a new field’ and ‘Create virtual field’ options.
4. Give the field a name and set the ‘Output field type’ setting to ‘Text (string)’
5. Put the following HTML script in the expression box and replace the highlighted EPSG values with your project CRS:
'<a href="'||'https://www.google.co.uk/maps/place/' || to_string( y(transform( $geometry, 'EPSG:27700', 'EPSG:4326'))) || ',' || to_string( x( transform( $geometry, 'EPSG:27700', 'EPSG:4326'))) || '">Open Google Map</a>'
6. Click ‘OK’
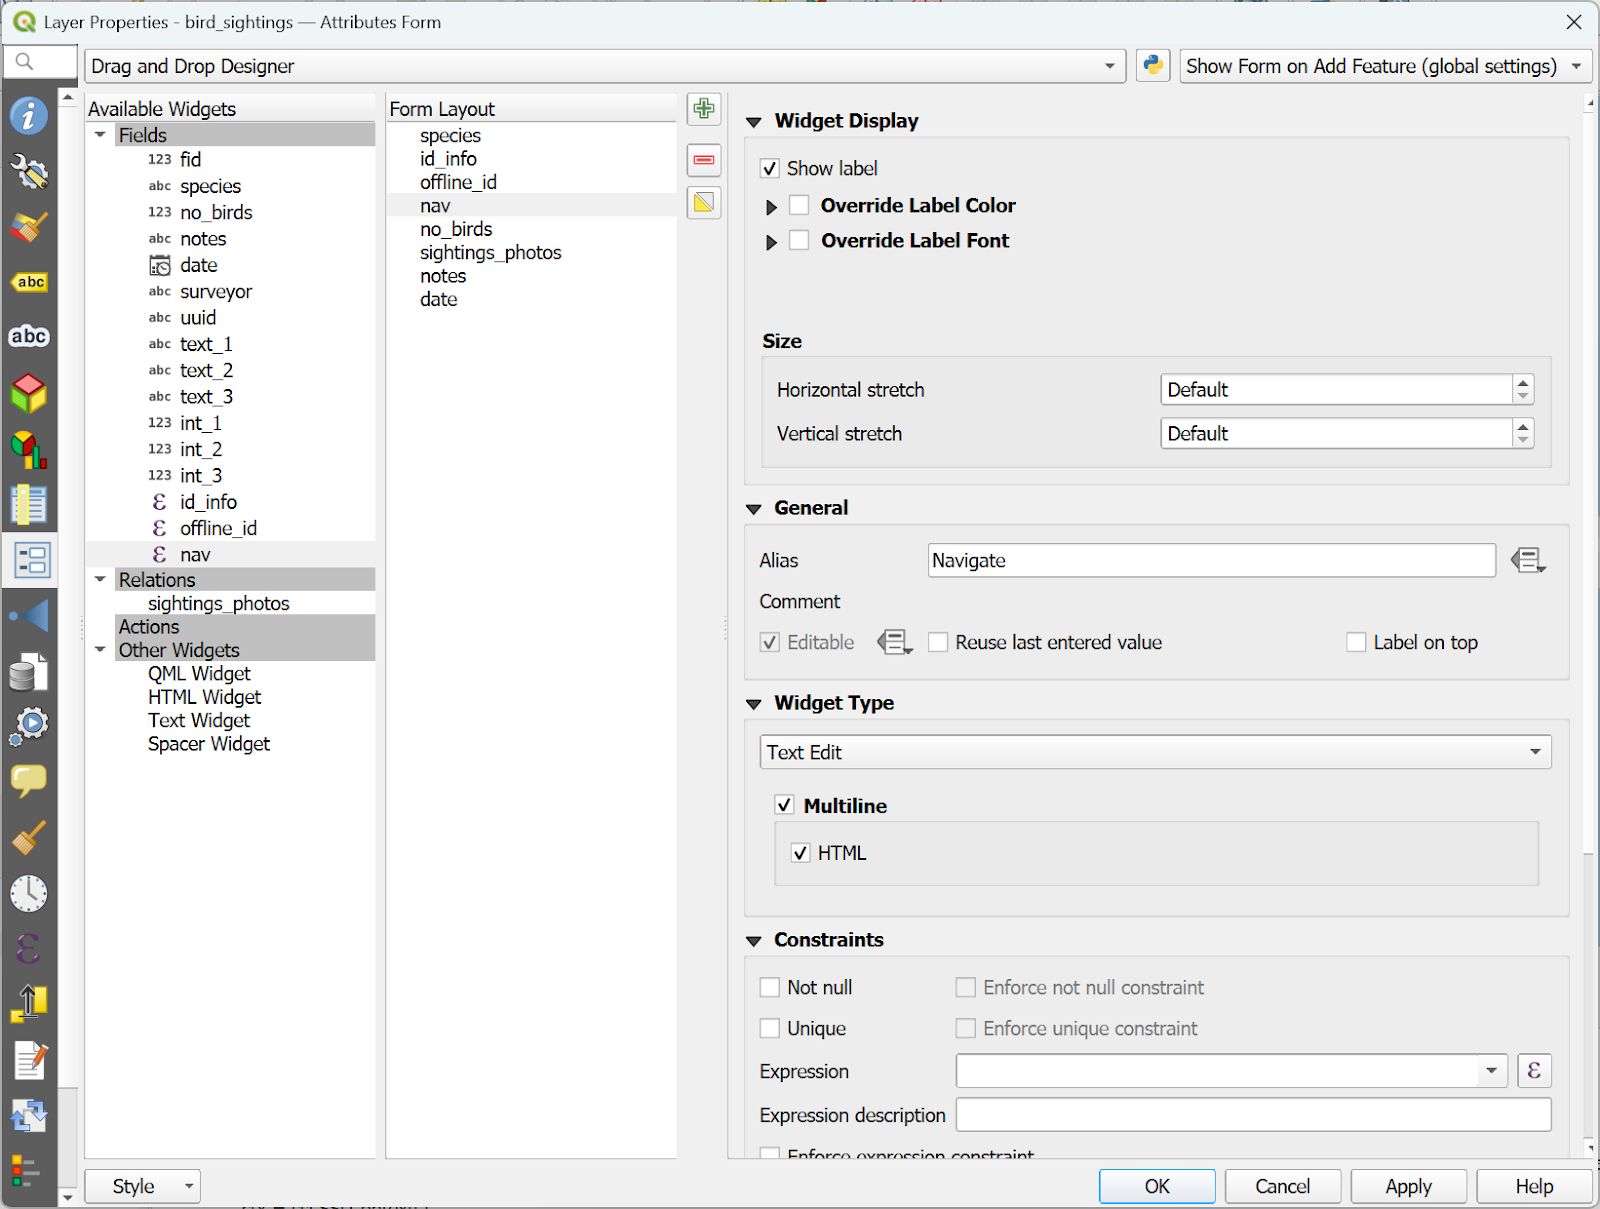
7. Go to the Form Builder tab and place the virtual field in the form layout
8. Use the following options for the field widget:
- Set the widget type to Text Edit
- Disable editing
- Enable Multiline text and HTML
- Click ‘OK’ on the layer properties and then save and synchronise your project
Now, when users open the feature on the survey form, they will see a link with ‘Open Google Map’ that they can click and it will open Google Maps on their device, or open it in the browser if they do not have Google Maps installed, and they can then use that link to navigate to the location.
Provide more information to surveyors
Sometimes you might have surveyors in the field who need to identify certain feature types such as plants, geological formations or animal species. It may be helpful to the surveyors if they can access additional information to help provide context about what they are surveying.
In this example of a bird habitat survey, we’ll show you how to provide the surveyor with a link to more information about a species of bird based on which species they’ve selected from a list. The link will change as the surveyor changes the selection without having to save the entry. This will let them look at the information to confirm their selection before hitting the ‘Save’ button and help reduce errors in the survey.
Prepare the data
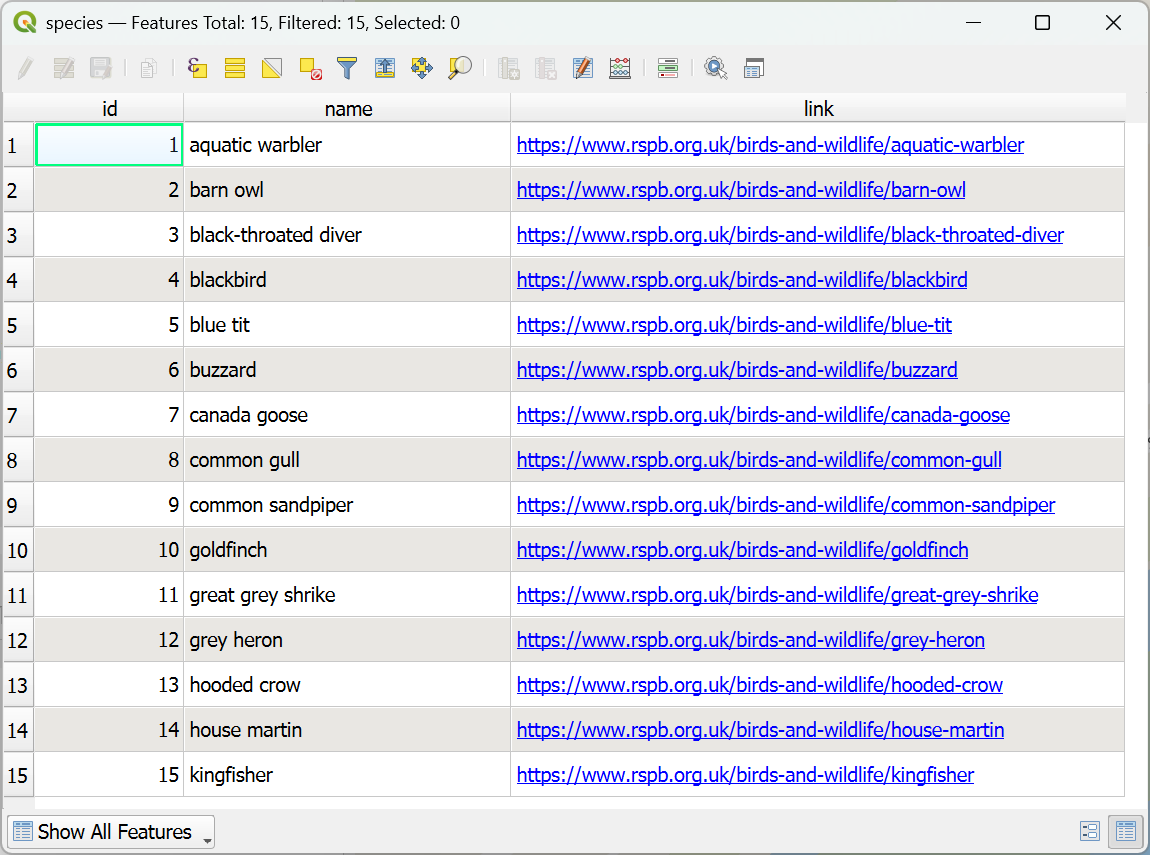
First, we need to make sure we have the data set up in our survey so the link feature will work. We’ll need a lookup table with the bird species that will be in the survey, along with a link to more info about each species. In our example, we have a simple CSV table with the following fields:
- id: an integer field with an ID number for each row
- species: a text field with the common name of each bird species
- link: a field with a link to a page on the RSPB website about the species
Here is an example of the table data:
In our survey layer, we have a corresponding species text field that has the following setup:
- Widget Type: Value Relation
- Layer: species (this is our lookup table layer)
- Key column: name
- Value column: name

Set up the virtual field
Now that we have our layer tables set up, we will create a virtual field on the survey layer for the external link. Follow the exact same steps to create the virtual field as in the previous example, but give this field a different name and use the following expression to create the field:
'<a href="'||attribute(get_feature('species','name',"species"),'link')||'">Species Information</a>'
Now you just need to add the virtual field to your form layout and the user will be able to click on the ‘Species Information’ link in the form to see more information about the species currently selected.
Open documents stored in the project folder
You can also use HTML to open PDF or other documents that are stored in the project folder. This can also work without a data connection since the files are stored in the project directory and will then be downloaded to the user’s device. To link to any file in the project directory, you can use relative links as a default value for a text field with HTML enabled using the following expression:
project://<path_to_file_within_project>
Let’s use our previous example of the bird survey so the surveyors can access the bird information when working offline.
To set up the documents in the project:
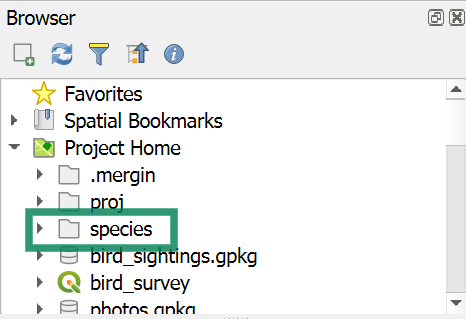
1. Create a folder in the project directory for the PDFs, we’ll use ‘/species’ in our example project.
2. Make sure the names of the PDF files match the entries in the ‘name’ column of the species lookup table.
3. Set up a virtual field using the same settings as before, using the name ‘offline_id’ and the following expression:
'<a href="'||'project://species/' || "species" || '.pdf">Offline Info</a>'
4. Add the ‘offline_id’ virtual field to the form layout
Now the user can access the offline data stored in the project by clicking the ‘Offline Info’ link and it will open the corresponding PDF.
Keep learning
If you’ve found this tutorial helpful, you can also head over to our documentation to find out about other uses of HTML in your survey project such as customising the preview panel and providing instructions or hints to users in the field. Thank you for using Mergin Maps and be sure to keep an eye out for future articles with tips and best practices.