# Capturing Your First Field Data
In this tutorial you will learn how to:
- See your location shown on background maps on your mobile device
- Capture field data with their locations, photos and notes
- Query and edit field data
# Install Mergin Maps mobile app
Download Mergin Maps mobile app to your Android device, iPhone or iPad. You can find it in the app store of your platform:
# Creating a project in Mergin Maps mobile app
Data are stored within projects. We'll now create a new project to save our data into.
Using Mergin Maps mobile app is the quickest and easiest way of creating new projects. Alternative methods offering much greater flexibility are introduced in later tutorials.
Open Mergin Maps mobile app on your mobile device
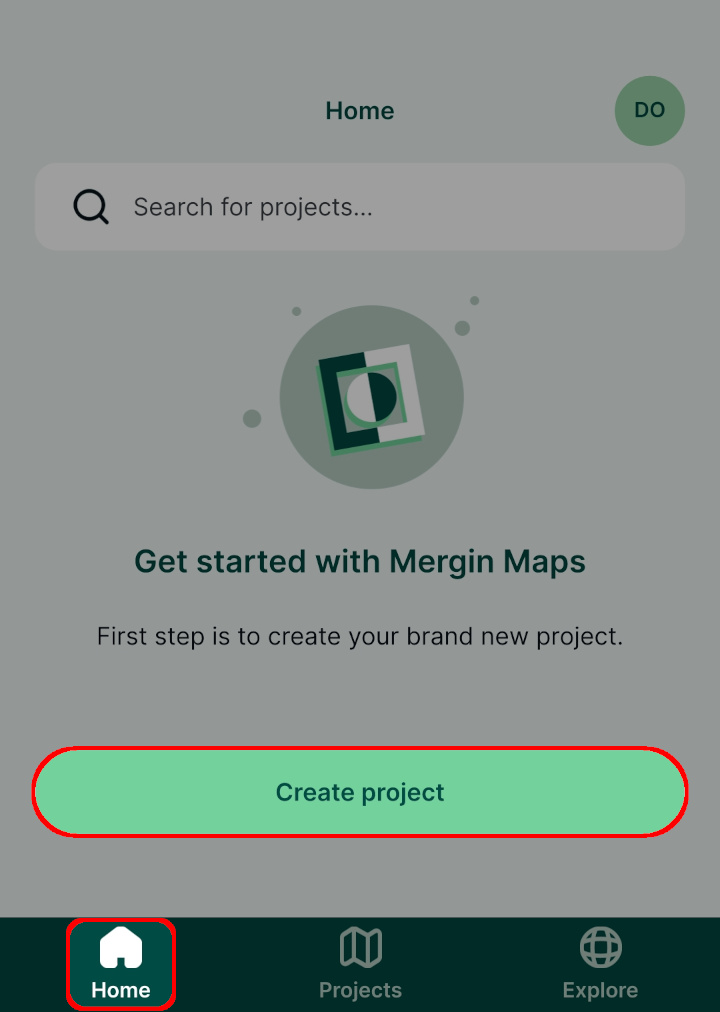
Tap the Create project button in the Home tab
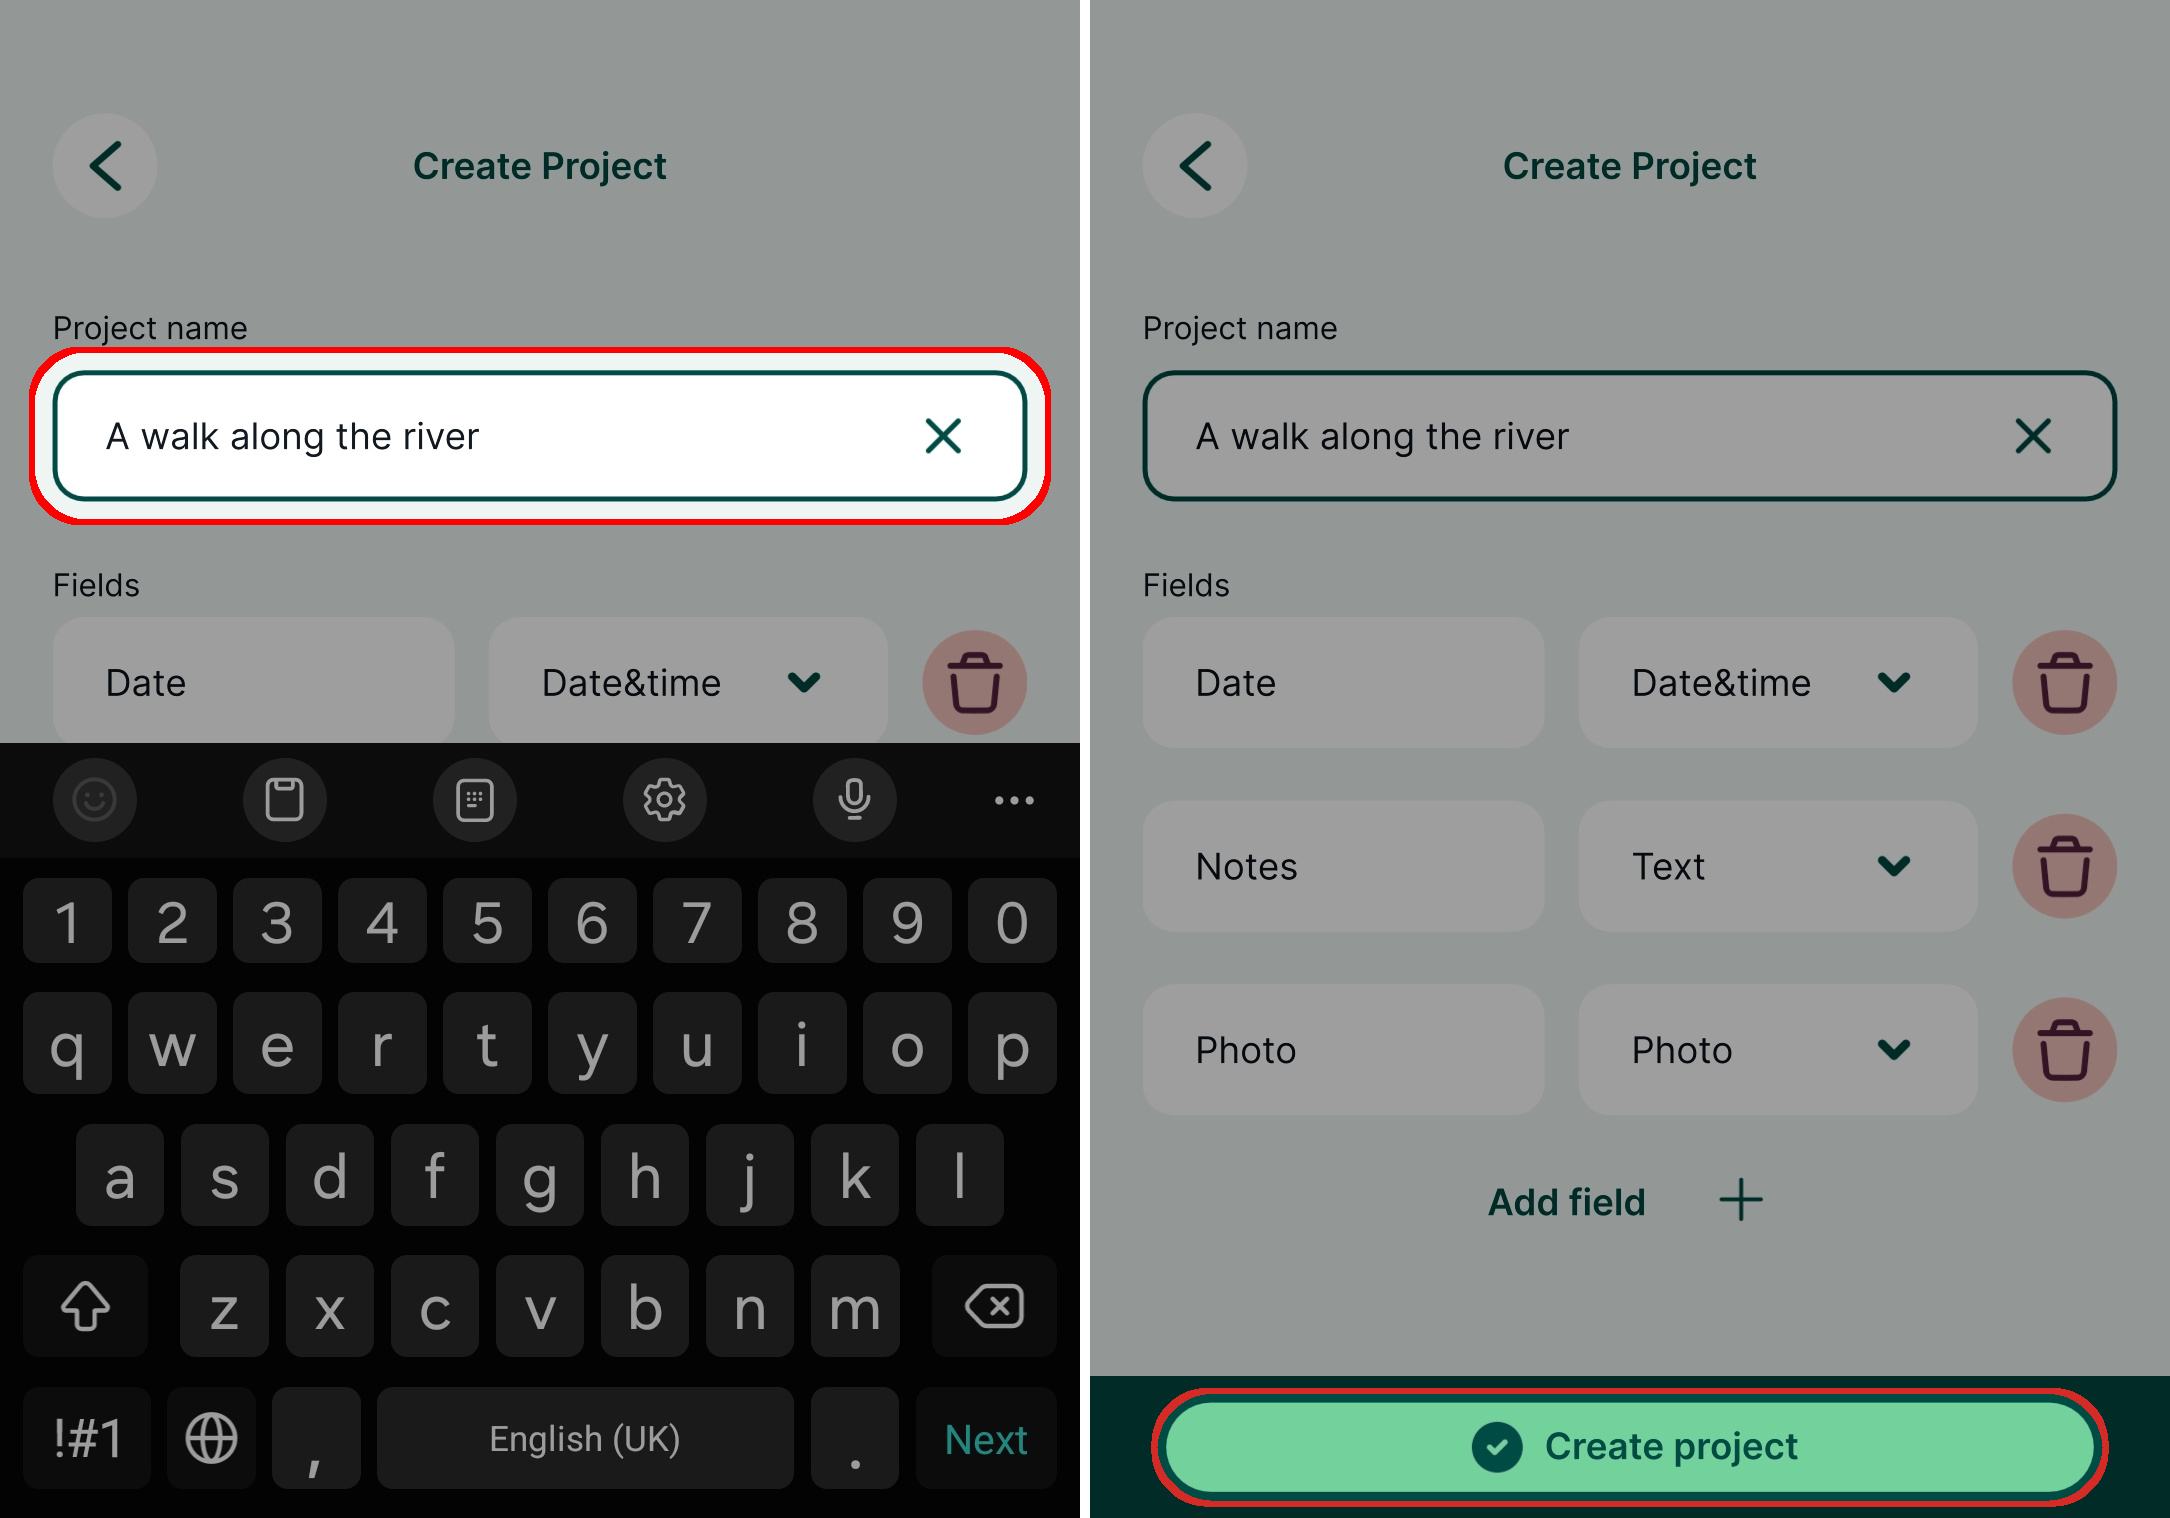
Enter the name of your project and press Create project. You might need to minimise the on-screen keyboard to see this button.
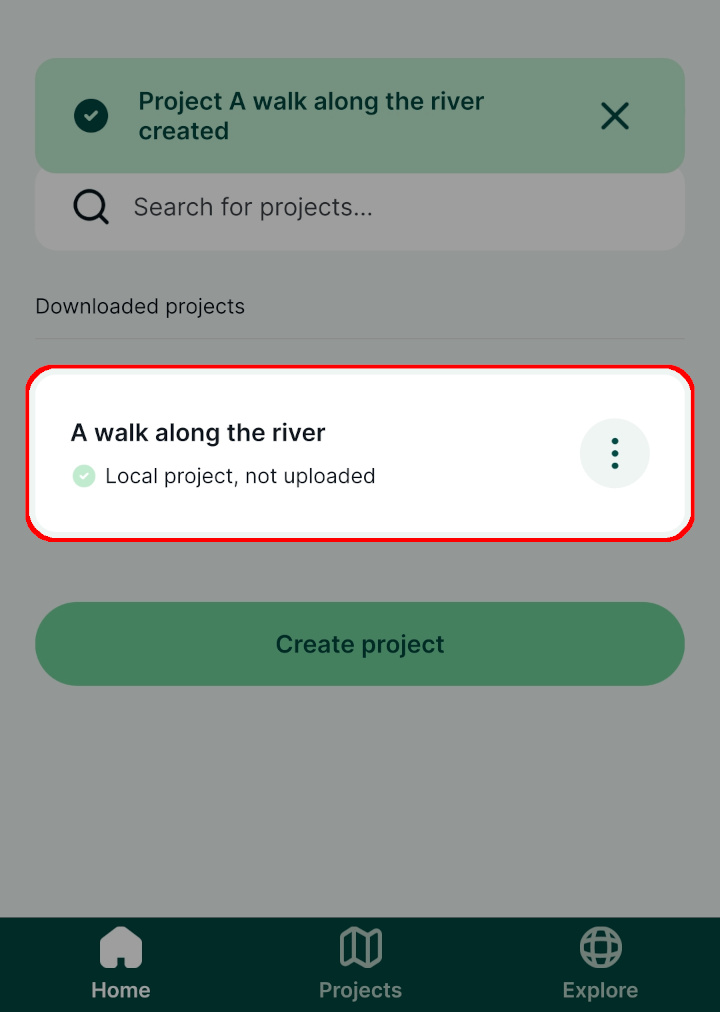
Your new project should now be visible on the Home tab of the Projects screen. It can be opened by tapping the project's name.
# Capturing field data
In the last step we created a project which will be used for our field survey. Let's now practise capturing some field data.
Note that the background map used in this project requires network connectivity. To display it outside, you need to be connected to the internet.
Open the project by tapping its row in the Projects screen.
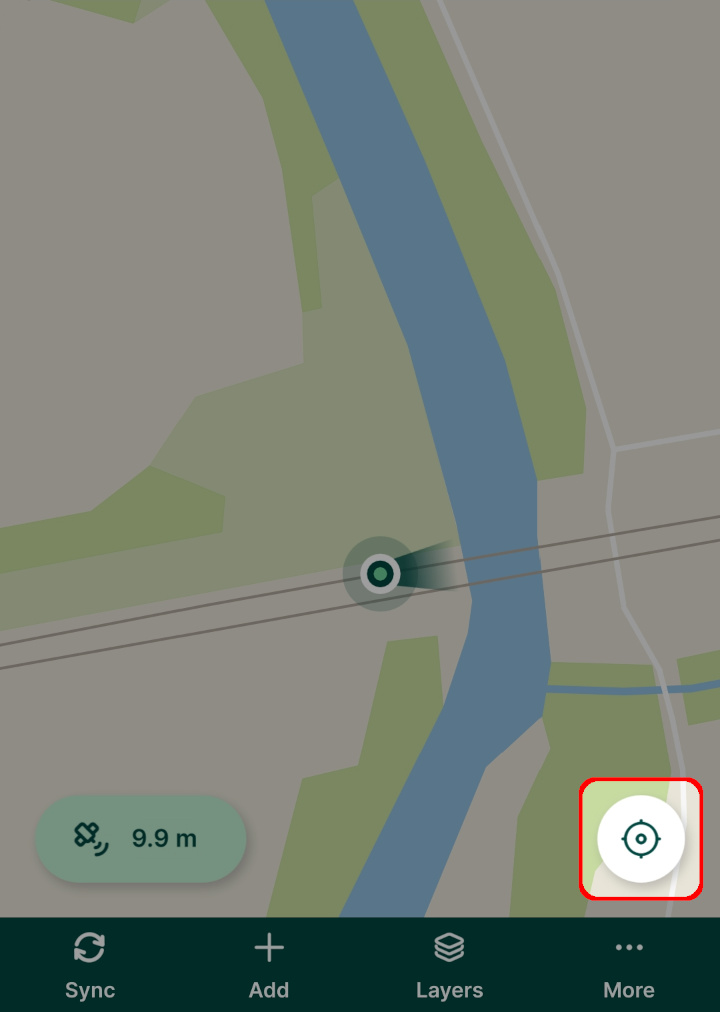
You should see your location shown over the background map:
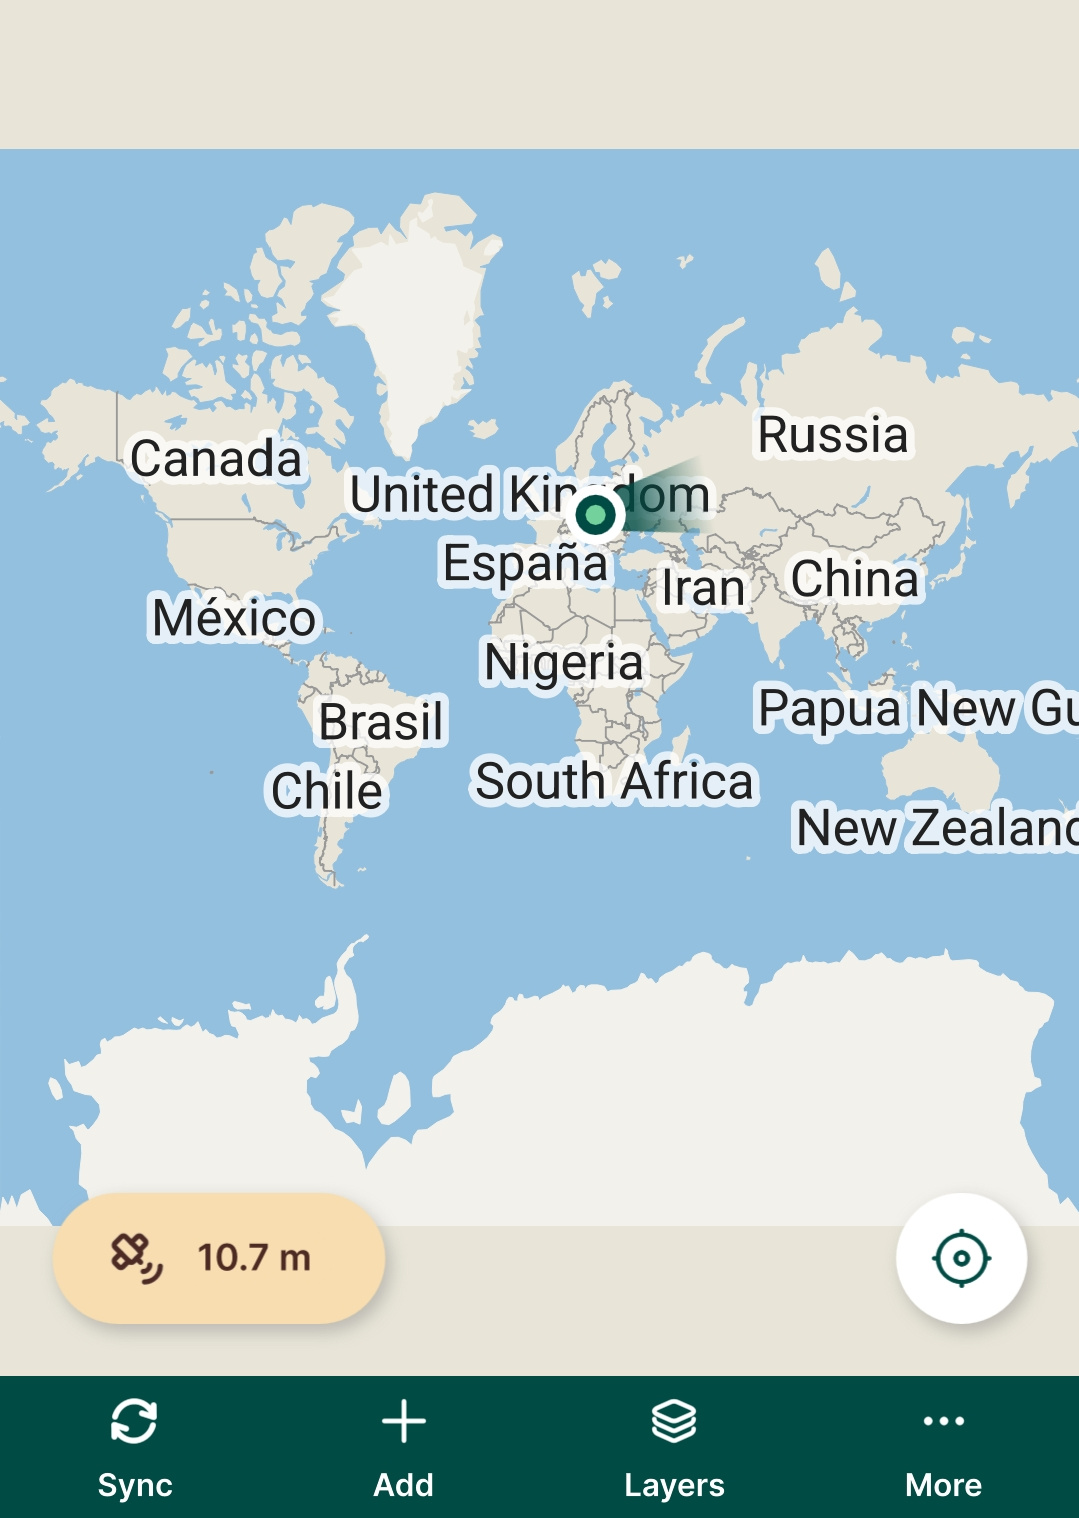
Pinch the map to zoom in to your current position. If needed, recentre the map using the GPS button in the bottom right corner of the screen.
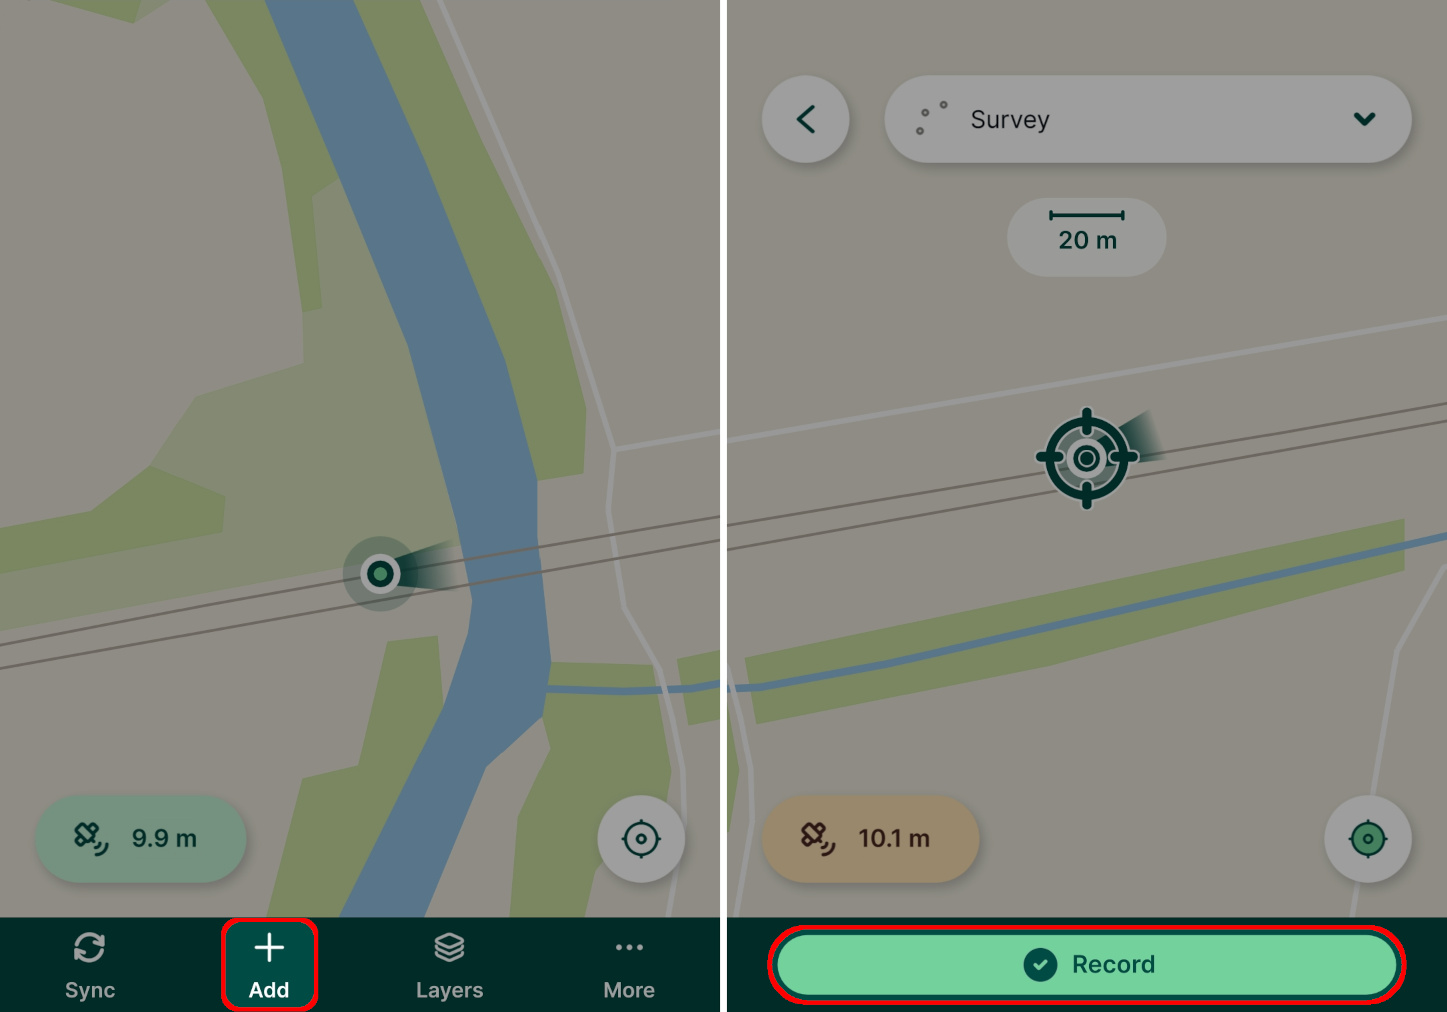
To add a new feature, press Add.
The position of the feature can be defined by pinching and dragging the background map or by pressing the GPS button to capture your current position.
Tap Record to capture the point.
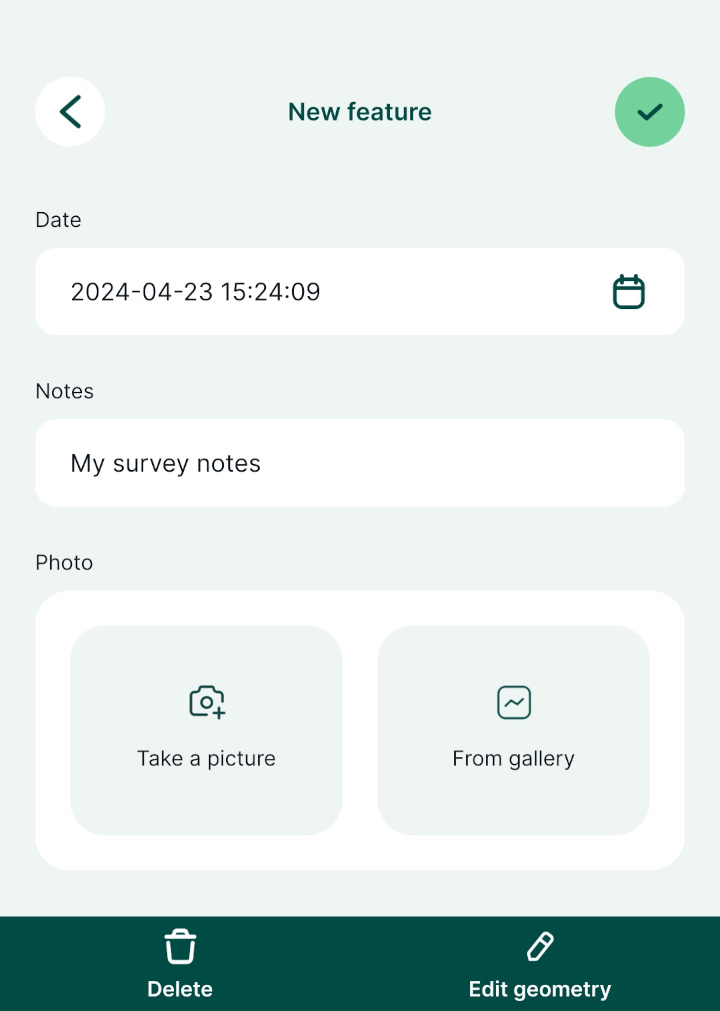
A survey form opens.
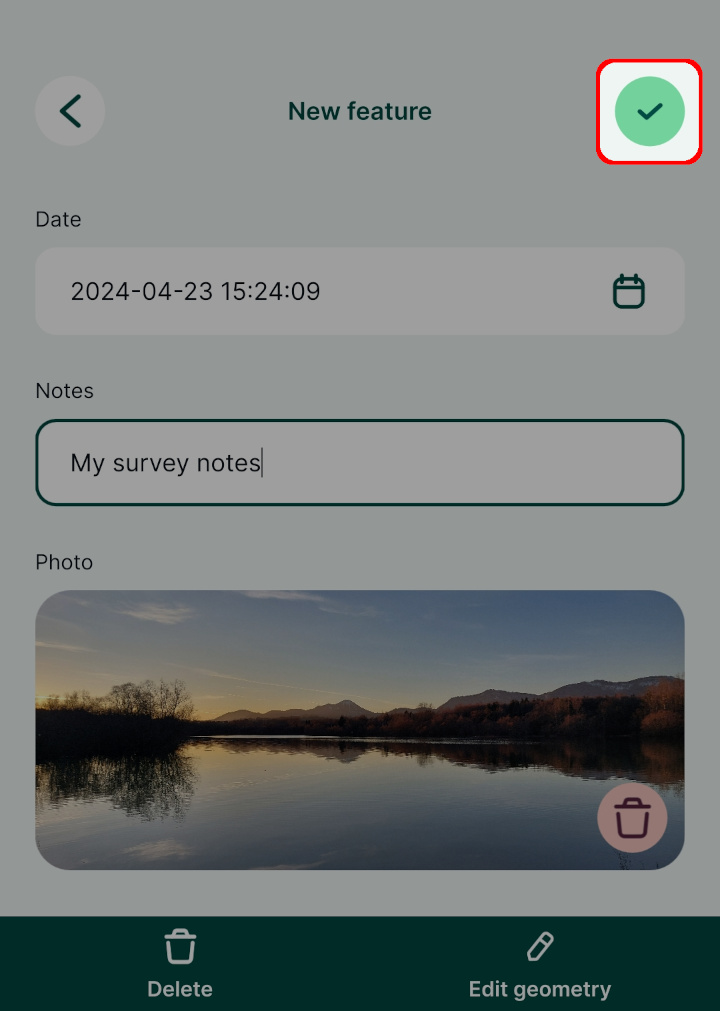
Enter the date of your survey and notes about the feature.
Tap Take a picture to attach a photo using your camera.
Press Save when you're happy with the details you've entered:
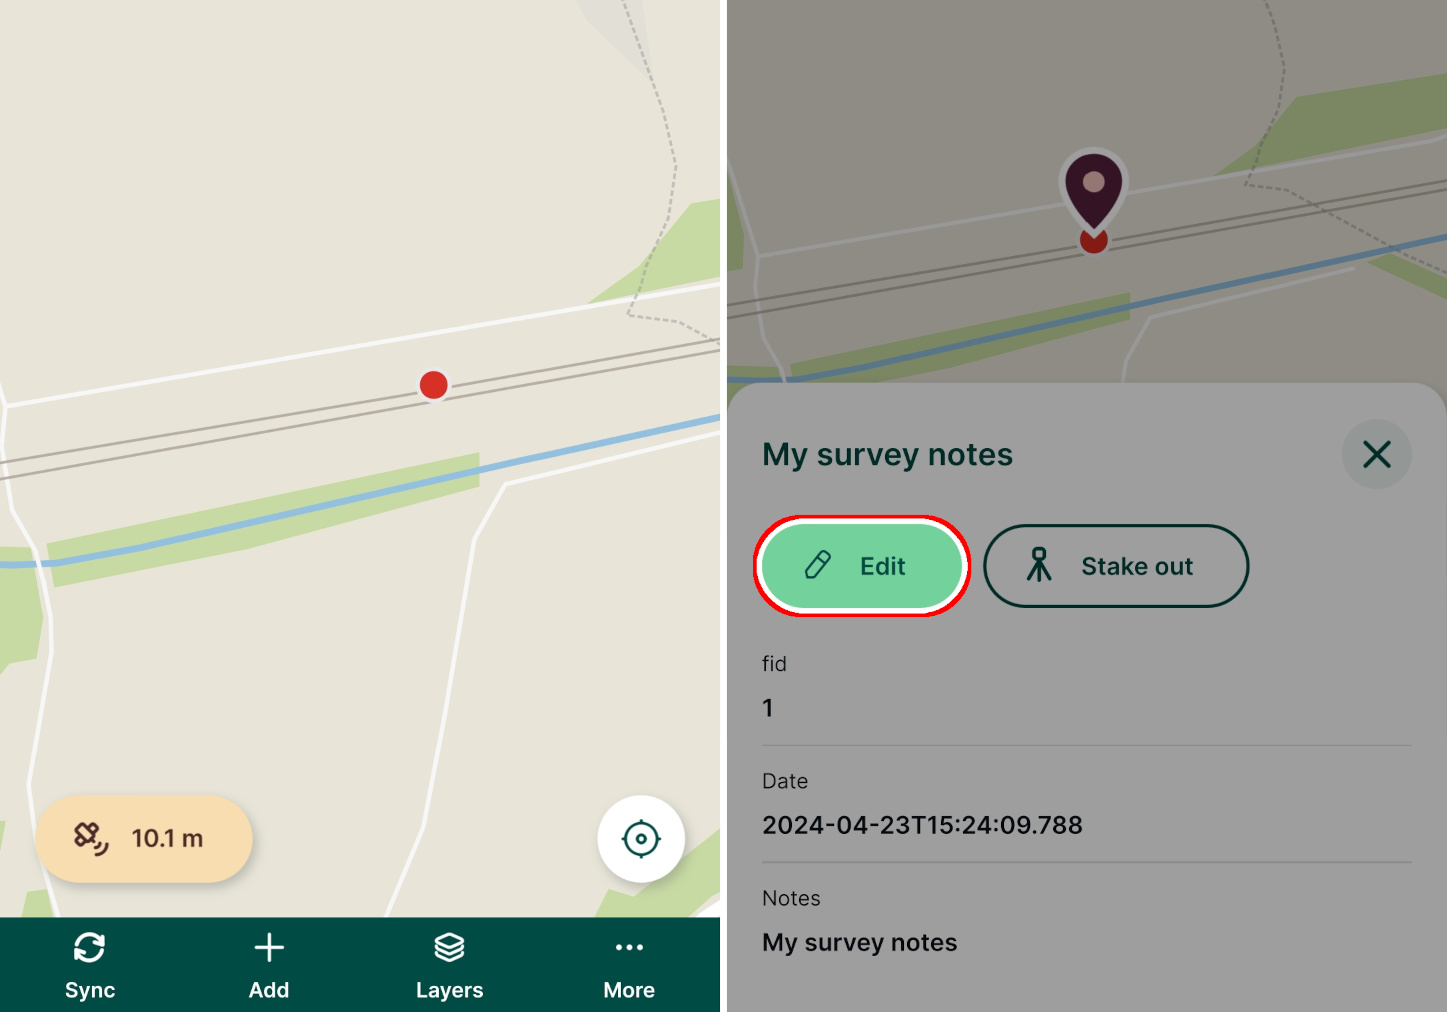
The feature you just captured should now be visible on the map.
Tap on the feature to see its details. If you want to change these details, such as rewrite the notes or take a new photo, tap the Edit button.
# Summary
In this tutorial you learnt how to start capturing field data with very little effort, entirely from within Mergin Maps mobile app.
You may be wondering how you can survey line and polygon features, use other background maps or define the forms. These things are all possible with Mergin Maps!


